Roll N Lock Instructions
Installing the Roll-N-Lock M Series on your truck is more than just adding a bed cover. It’s a game-changer for cargo security and versatility. While the thought of a DIY installation might sound daunting to some, the process can be rewarding and straightforward.
Dive into our step-by-step guide and discover how to seamlessly transform your truck’s bed into a robust and adaptable storage solution while adding a touch of sleek design to your vehicle.
Roll N Lock M Series Installation Guide
Here’s a detailed paragraph-style step-by-step guide for installing a “Rollin Lock M Series” on a 2015 Chevy Silverado or GMC Sierra:
Preparation
Our journey begins with the careful removal of factory tie-downs located on each side at the front of the bed using a flat-blade screwdriver, ensuring the pristine condition of holes, which will later accommodate housing flanges.
These initial steps pave the way for a clean, unobstructed installation of the Rollin Lock housing, eliminating potential hindrances and establishing a smooth foundation for the subsequent phases of the installation.
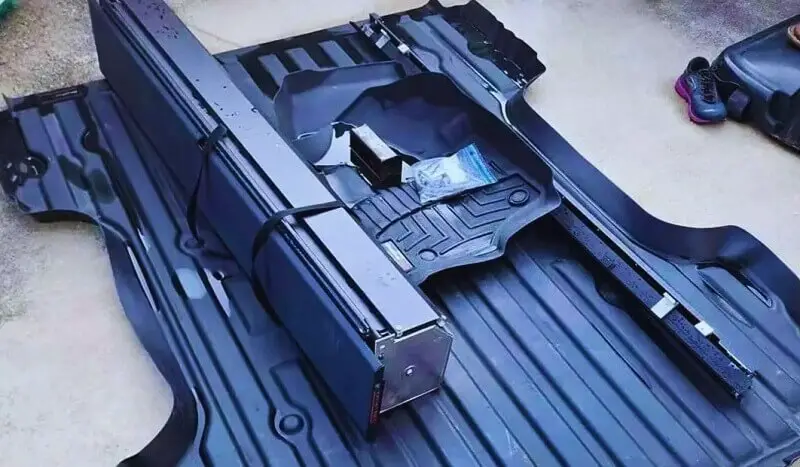
Track & Housing Installation
The installation of the housing support brackets commences, becoming the backbone of your Rollin Lock by providing additional strength and rigidity as it’s mounted on the bed ribs. This meticulous process involves deploying a 1-inch bolt through a hole in the support bracket, affixing washers, and threading a tank.
Once assembled, the threaded tank snugly fits into the bed hole, with careful alignment and sealing against the elements with a butyl strip to ensure a water-resistant seal. Subsequently, the Rollin Lock housing is gently positioned, making certain of its centered and symmetrical position relative to the truck bed rails.
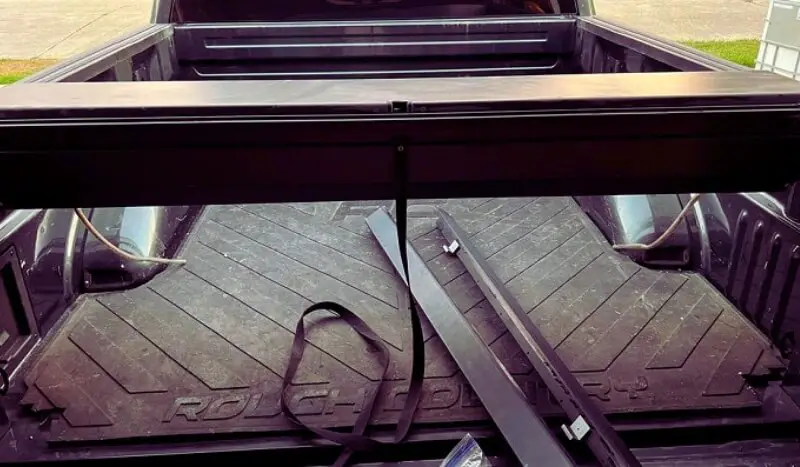
Track & Cover Alignment
The alignment process requires keen attention, commencing with the removal of Phillips head screws, lid detachment, and sliding, ensuring accessibility and ease in subsequent steps.
As the CV track brackets, tangs, and washers are assembled, they are gently hand-tightened into the bed hole nearest the tailgate. This strategic loosening permits minor adjustments and ensures optimal alignment in subsequent steps.
Securing the pull strap and unlocking the latch mechanisms allows the smooth insertion and alignment of each track, forming the foundation for a seamless roll and lock operation.
Final Adjustments
This pivotal phase of the process begins by securing the track to the housing, followed by the gentle attachment of bed clips, ensuring a tight yet flexible hold.
Then, attentively placing the tailgate extrusion at the center of the tailgate not only provides an aesthetic appeal but also ensures functional coherence, ensuring a tight, secure fit.
Further adjustments to tracks and housing enable a snug, meticulous alignment with the tailgate, preparing for a secure and smooth operational use.
Final Touches
Each step in this section is about dialing in the fit and function, carefully tightening clamps and adjusting tracks to ensure they remain level and true to the desired alignment.
Final securement of the two self-tapping screws through the housing into the flange ensures a steady hold, whilst a rotation to the latched position and cover pulling assures that everything remains in its rightful place, fitting tightly and securely.
Operational Check
As we close the chapter on installation, the reattachment of the lid and its corresponding screws signifies the near completion of the process. An initial retraction of the cover into the housing checks for smooth operation, followed by securing the cargo bumper to the front of the housing.
Then, cautious drilling and application of a corrosion inhibitor ensure future stability and longevity of the installation. The final step allows a thorough check of the operational aspects of the Rollin Lock, ensuring smooth retraction and verification of all previous steps to assure a successful, secure, and functional installation.
After following through on these steps, the installation process should be successfully completed. For any issues or questions, contacting Rollin Lock customer service is recommended.

Peter Rees, your go-to car parts expert, bridges the gap between mechanics and motorists. With over decades in the automotive industry, he decodes the intricacies of vehicles in his insightful blog, steering readers toward savvy decisions and smooth rides.